

Monitor your first website
You need an Editor or Admin role and a public HTTP or HTTPS endpoint.
- Select the intended account and open Checks.
- Create a check and choose Website. Give it a recognizable name.
- Enter the full URL, for example
https://example.com/health. - Set the expected HTTP response code, normally
200. - Decide whether to follow redirects. With this off, Pingstack compares the first response, including a redirect, to your expected code.
- Choose an interval allowed by your plan. Keep the default single-location quorum for now.
- Assign an existing notification group if available, then save.
- Open the check and inspect its first recorded result.
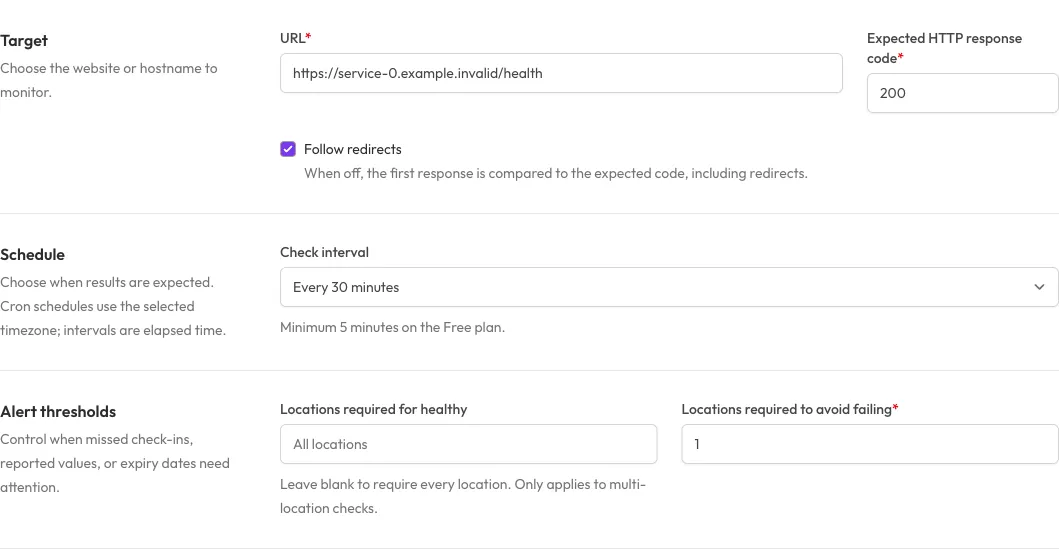
Example website settings from a local demo account. Choose the interval and thresholds appropriate to your service; the screenshot shows an existing check’s edit form.
A matching response makes the probe location healthy. A real nonmatching response makes it fail. If the check is still pending, allow the first probe to complete; saving is not itself a successful probe.
An endpoint that requires an interactive login is usually unsuitable. Choose
a public health endpoint, not a page that returns 200 regardless of service
health. Pingstack performs an HTTP GET; it does not run browser JavaScript.
Next, connect alerts. For redirects, timeouts, additional regions and firewall rules, see website configuration and probe troubleshooting.